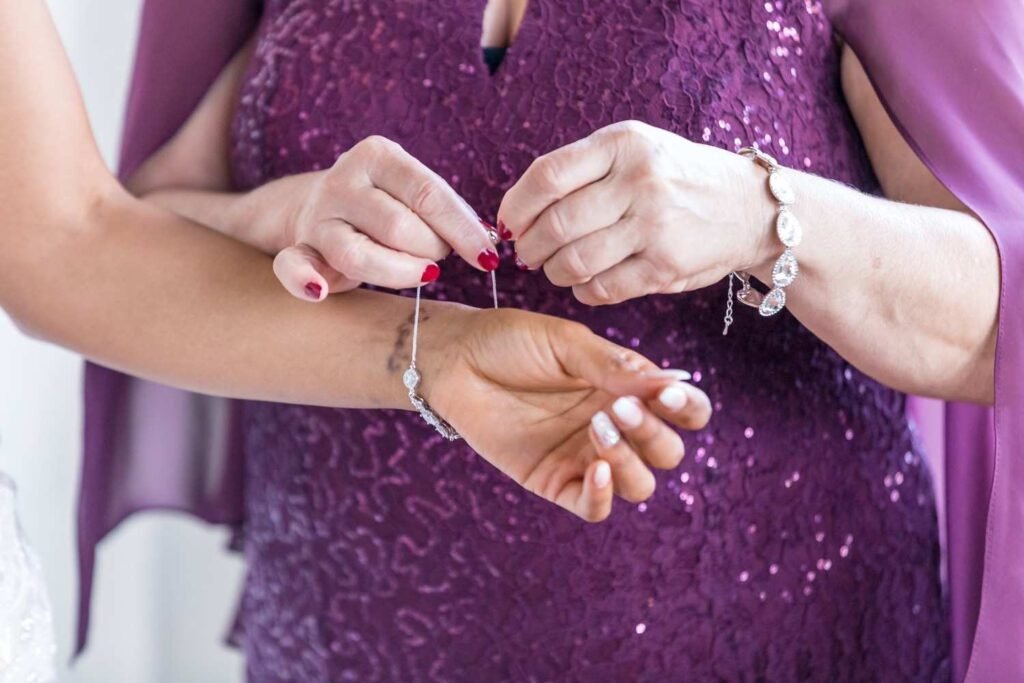
There’s nothing worse than spending hours making a beautiful bracelet, only to have the knot slip and ruin your hard work. Whether you’re creating a stunning stretch bracelet or an adjustable string bracelet, securing the perfect knot is key to ensuring your creation stays intact.
In this blog, I’ll walk you through how to tie bracelet knots that won’t slip — from the Surgeon’s Knot for elastic cord to the Sliding Knot for adjustable styles. With a few simple tips and tricks, you’ll never worry about loose knots again. Let’s get started!
Why Do Bracelet Knots Slip?
Before we get started, let’s talk about why knots tend to slip in the first place. The primary reason is the slipperiness of the cord. Whether you’re using elastic cord or nylon thread, friction plays a huge role in keeping your knots secure.
If the cord isn’t prepped properly or tied using the wrong technique, the knot can easily come undone. Now that we know why this happens, let’s move on to the solution to how to tie a bracelet knot that won’t slip!
Materials You’ll Need
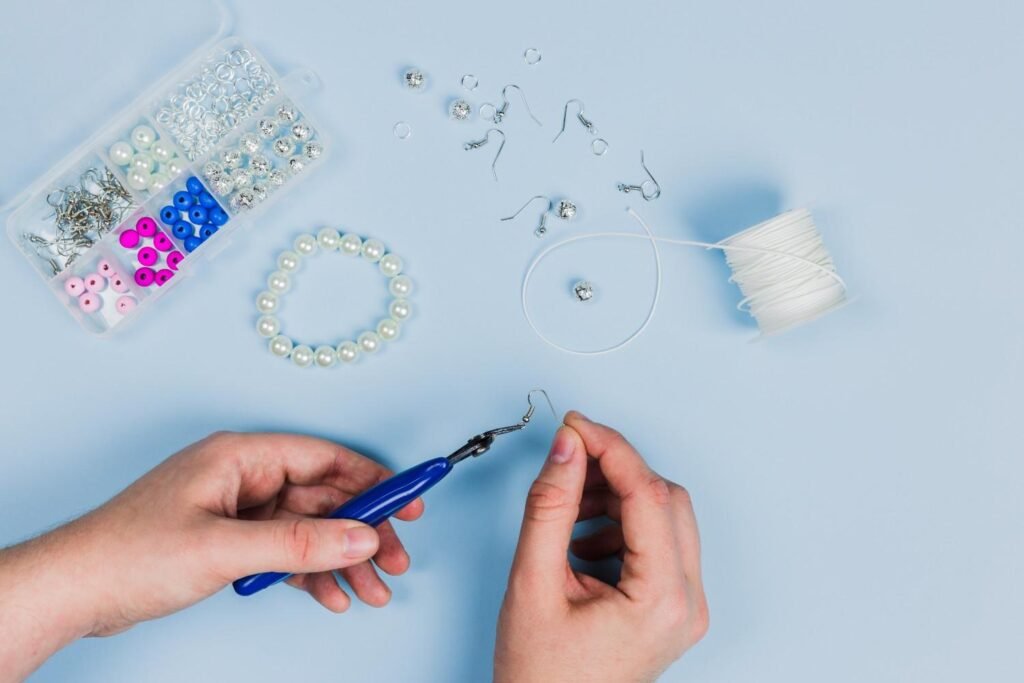
To tie a bracelet knot that won’t slip, gather the following materials:
- Elastic cord or nylon string (depending on the type of bracelet you want to make)
- Scissors to trim the cord
- Jewelry glue (optional, but highly recommended for extra security)
- Beads or a clasp (if you’re finishing with one)
These simple materials will ensure your bracelet is both durable and stylish.
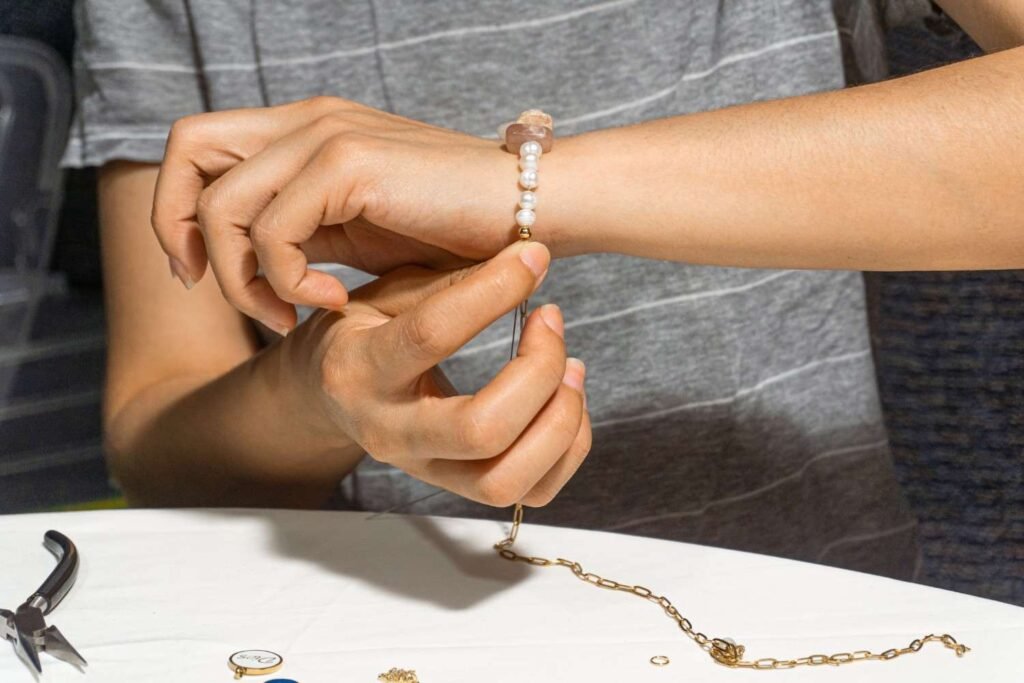
Step-by-Step Guide to Tying Secure Bracelet Knots
1. Surgeon’s Knot: Best for Elastic Cord
The Surgeon’s Knot is perfect for securing elastic cord. It’s more secure than a square knot due to the extra loop that creates more friction, making it ideal for bracelets that need extra strength.
Step 1: Pre-Stretch the Elastic Cord
Before stringing any beads, pre-stretch the elastic cord by pulling it several times to its full length. This will prevent your bracelet from sagging or loosening over time.
Step 2: Make the First Twist
Take the left cord and cross it over the right, looping it under once. This is just like the first step of tying your shoes.
Step 3: Double Loop
Take the right cord, cross it over the left, and loop it under twice instead of just once. The second loop creates added friction, helping the knot stay in place.
Step 4: Tighten with a Tool
To make the knot flush against the beads with no gap, insert a toothpick or small wire into the center of the knot before pulling it tight. This ensures that the knot sits snugly.
Step 5: Lock the Knot
Finally, pull the knot in all four directions (both tails and both sides of the beaded cord). This ensures it’s fully seated and tight.
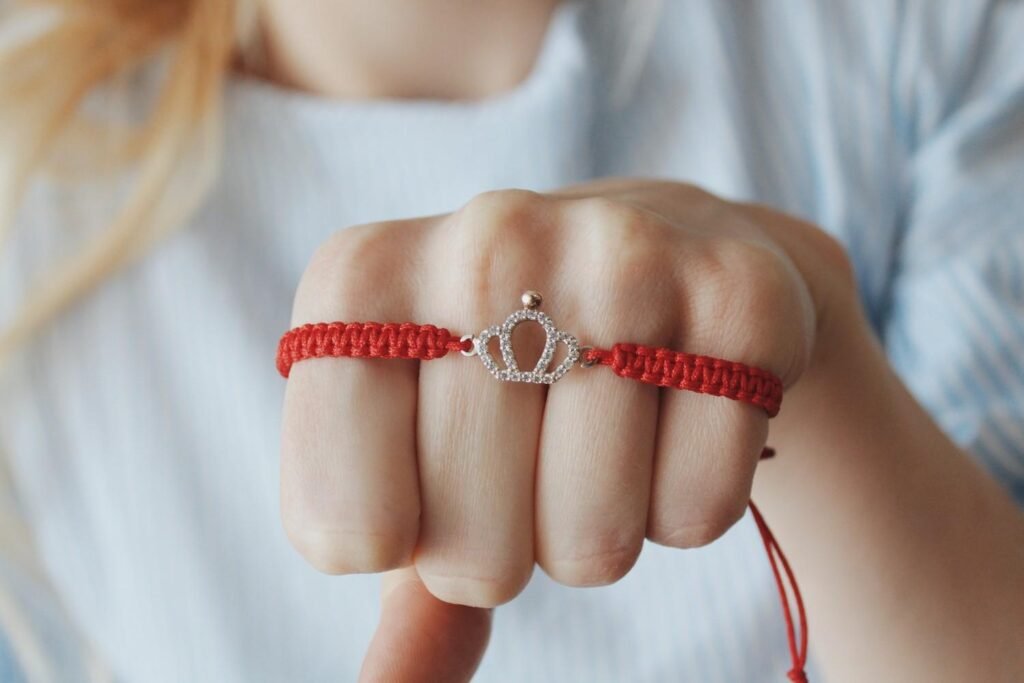
2. Sliding Knot: Best for Adjustable Cord Bracelets
For adjustable string bracelets, the Sliding Knot is your best friend. This knot allows you to easily adjust the bracelet while ensuring it won’t slip.
Step 1: Overlap the Ends
Place the two ends of your bracelet cord parallel to each other, pointing in opposite directions.
Step 2: Wrap the Cord
Take one of the ends and wrap it around the other cord two to three times. Work back towards the bracelet as you wrap.
Step 3: Thread Through the Loops
After wrapping, feed the end back through the loops you just created.
Step 4: Repeat on the Other Side
Do the same with the other loose end on the opposite side. Now, you’ll have two knots that can slide toward or away from each other, making your bracelet adjustable.
3. Pro Tips for Extra Security
Now that you’ve mastered both knots, let’s add some pro tips to ensure your bracelet knot won’t slip:
Use Jewelry Glue
A tiny dab of G-S Hypo Cement or E6000 on the knot will prevent it from unraveling. Avoid super glue, as it can make elastic brittle.
Hide the Knot
For a cleaner look and extra protection, place a large-hole bead next to the knot. You can then pull the knot inside the bead, shielding it from friction and wear.
Don’t Cut Too Close
When trimming the excess cord, always leave about 2–3mm of tail after the knot. If you cut it flush, the knot may slip through the loop when the bracelet is stretched.
Frequently Asked Questions (FAQs)
1. How Do You Make a Knot That Won’t Slip on Stretch Cord?
To tie a knot that won’t slip on stretch cord, use the Surgeon’s Knot and reinforce it with a small amount of jewelry glue. Pre-stretch the cord and pull the knot tightly to ensure it stays secure.
2. What’s the Best Knot for Adjustable Bracelets?
The Sliding Knot is perfect for adjustable bracelets because it allows for easy resizing while keeping the knot secure. Make sure to wrap the cords tightly and thread them back through to lock the knot in place.
3. Can I Use a Single Knot for Bracelets?
A single knot may work, but it’s not the most reliable. A double knot or the Surgeon’s Knot will provide a much stronger hold, ensuring your bracelet lasts longer.
Keep Your Bracelet Knot Secure
By following these steps and tips, you’ll know how to tie a bracelet knot that won’t slip with ease. Whether you’re making a stretch bracelet or an adjustable cord bracelet, using the right knot—such as the Surgeon’s Knot or Sliding Knot—will ensure your bracelet stays intact. Don’t forget to pre-stretch the cord and consider adding a dab of jewelry glue for extra peace of mind.
With these pro tips in your arsenal, you can confidently wear your jewelry creations without worrying about knots unraveling. Happy crafting, and enjoy your secure, stylish bracelets!